My New Sewing Room
The Back Story
I used to share my sewing space with one of our guest bedrooms. My sewing table was on one side of the room. I had a cube shelf along one wall, and the twin size guest bed was along another wall. This space suited me perfectly fine when I was sewing only for myself and my family.

Here I am in my pre-business sewing room. Sewing a bra actually! You can see my fabric cube shelf behind me and the corner of the guest bed.
When I decided to launch a custom bra business, I suddenly needed to have space for inventory of fabrics and for size testers and miscellaneous other things for my business. It became very apparent that the space the suited me perfectly before, was not working anymore.
So I decided to eliminate the guest bed. That will give me the space I need.
I thought that would be enough. But a quick google search after that lead me to a few resources about planning/designing a sewing room, and I quickly determined that this space wasn’t the right space for my room. My kids had been sharing a bedroom. And bedtimes were getting harder and harder because bedtime = super party time. So, we knew that they would benefit from their own space. Which meant that my sewing room had to move to another part of the house. So I lived with some temporary storage solutions for a while while I planned my actual sewing room.
Planning
In January 2021, we moved the twin guest bed out of the house.
I found a course on Craftsy, titled “Organizing the Perfect Sewing and Quilting Studio” with ZJ Humbach (You can find it here). I found some resources from my local library that ZJ recommended in the course: “Creating your Perfect Quilting Space: Sewing Room Makeovers for any space and budget” by Lois L. Hallock and Sunset’s “Complete Home Storage”. Between the course and Lois’ book, I had a better idea of the ergonomics my new sewing space would need. I learned how to plan out a layout, how to select furniture, and how to plan storage needs all specific to sewing studios.
My favourite resource in this process wasn’t actually a book dedicated to sewing spaces. It is “Love the House You’re In” by Paige Rien (You can find it here). Another library find. I am using the process Paige lays out in the book to complete other renovations in our house too.
Paige recommends selecting a design kernel for your space. This kernel is something meaningful to you that you will use to help inform all the other design decisions. Here is my kernel for my sewing room:

Simplicity 8363 (Find it here) is my favourite pattern cover art. I love her fierce pose, the contrast between the structure of the corsets and the softness of the organza overlay, and the colours are wonderful.
Once you determine your kernel, you come up with words that are associated with your kernel. Here’s my list:
olive green
burgundy
gold
grey
sleek
sheer
armour
scroll detail
fantasy
warrior
structured
soft
Lord of the Rings
Dungeons and Dragons
cosplay
A Court of Thorns and Roses
These words help you narrow down paint colours, colours for other furniture and elements in your space, shape/design of furniture and other elements in your space, and the overall vibe you are going for.
Furniture possibilities were auditioned for the space using little pieces cut out of paper that I moved around the sewing room floor plan.
In January 2022, I had completed enough of the planning that I packed up my sewing room and moved its contents down to our family room to allow my kids to each have their own bedroom spaces.
Renovation
Execution of the sewing room reno began by emptying the room I would be taking over. I bought new trim. I brought home paint chips to determine my paint colours and then bought paint and primer. I bought shelf boards for the new shelves in the closet for my fabric, and oodles of brackets and many other things that come up in these sorts of projects.
We had an electrician come in to install some additional potlights to brighten up the space to a workable level as well as some additional outlets. Markon Electric was fabulous and I adore the new lights and outlets in my sewing room. If you need electrical work done in Central Alberta, I can highly recommend Mark. You can find his website here.

Here is an early progress shot. The new potlights have been installed, additional outlets and switch. Some of the trim has been removed already.
And then I spent the next month:
removing trim
washing walls and prepping them for paint
priming and painting walls
sanding doors and pony wall trim
cutting new trim
priming and painting doors and trim
reinstalling doors and pony wall and installing new trim
cutting new shelves
priming and painting shelves
installing shelf brackets and shelves

Progress photo: Priming

Progress: Grey and green walls are complete. Trim painting in progress
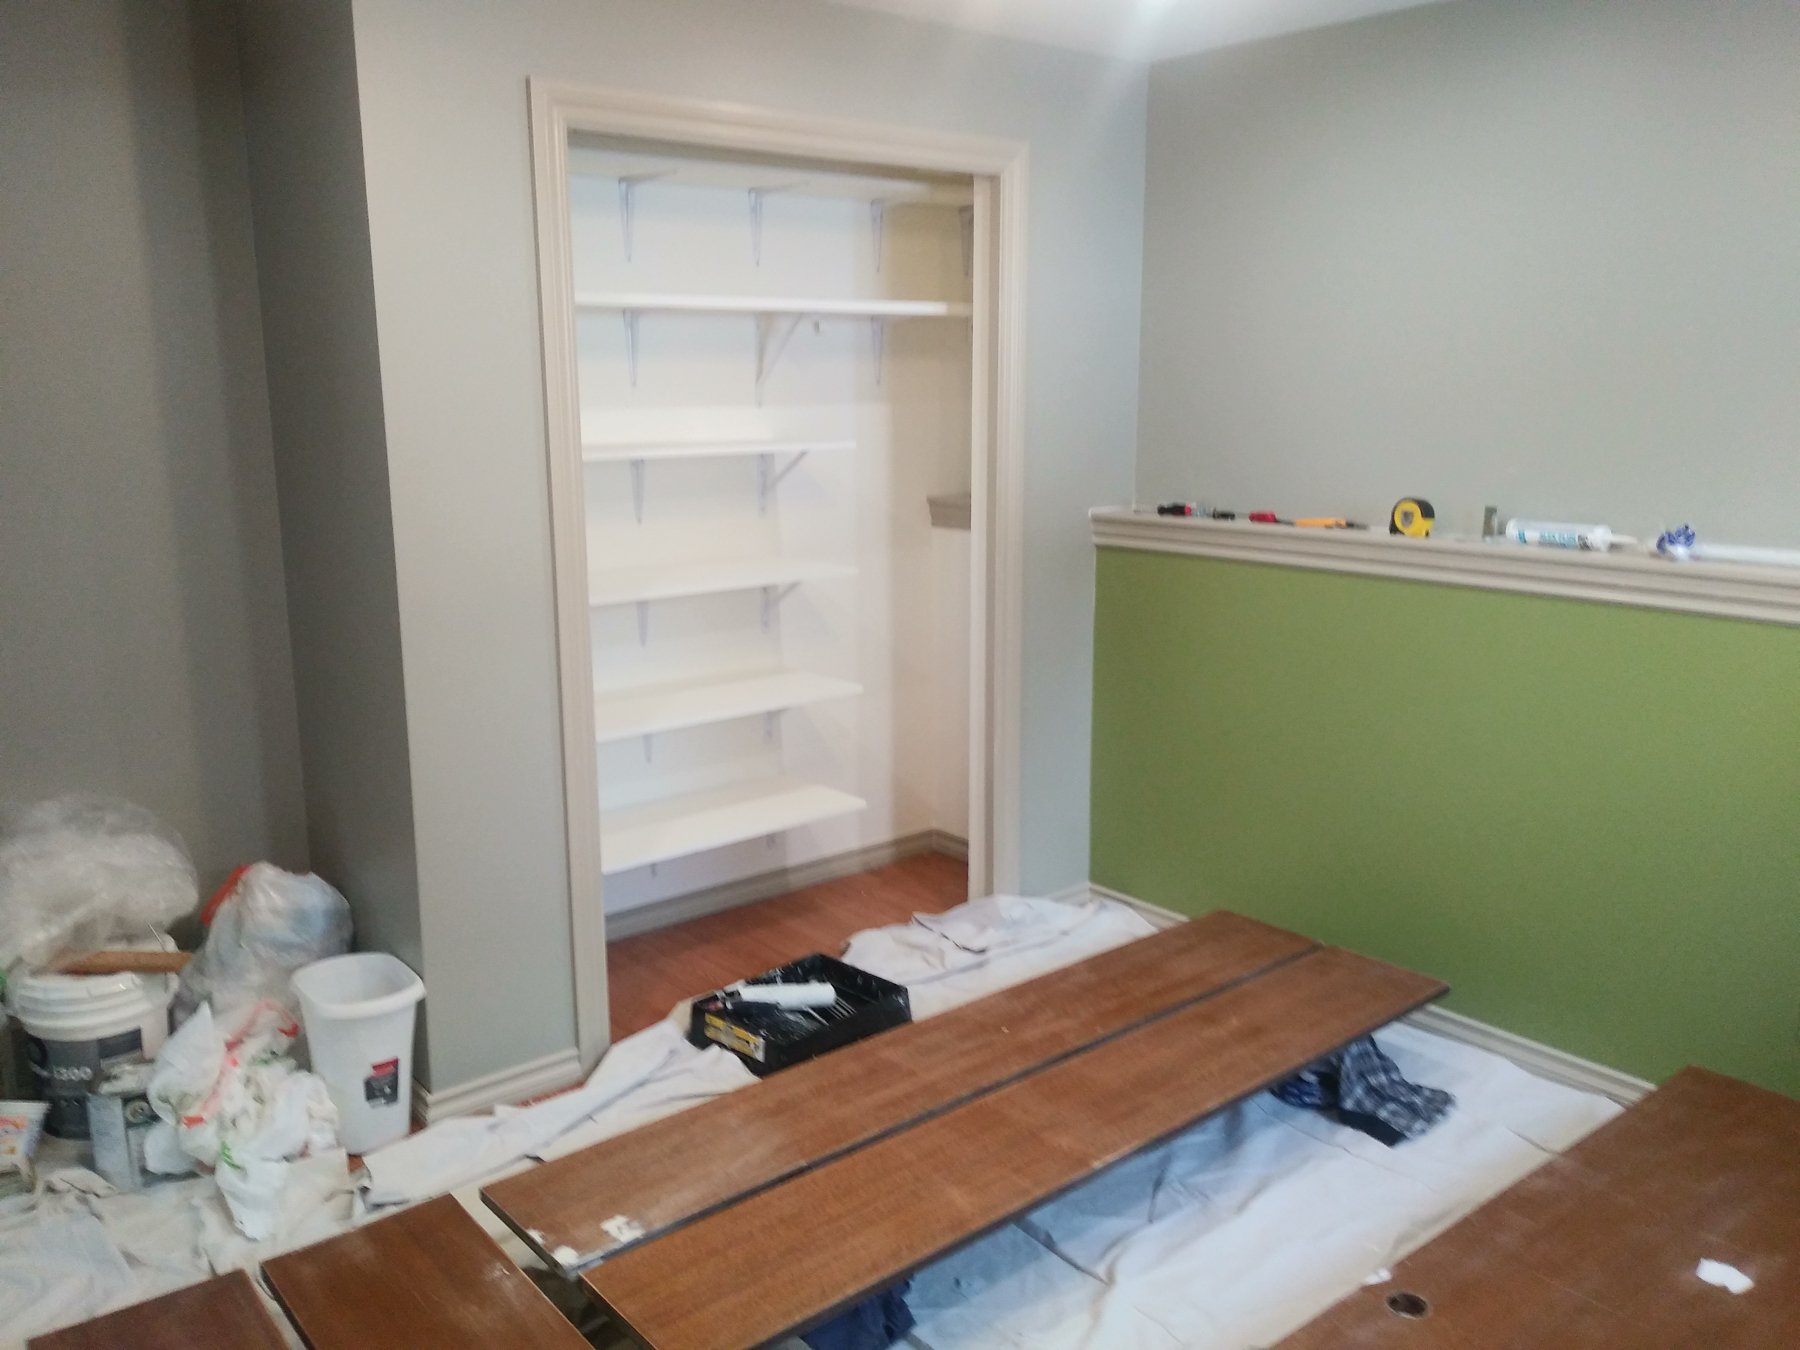
Progress: Trim painting has been completed and all trim reinstalled. Shelves for the closet have been painted and installed. Doors ready for painting.
And here is the finished renovation prior to moving anything in:

Super proud of this door. After I had sanded and painted the door frame pieces, my FIL helped me rehang the frame and door. Then, I sanded and painted the door. Then, the door didn’t fit any longer as it was a tiny bit too fat to close. I took the door stop trim off again and renailed that and then touched up the paint.

Bright walls make this a super inviting space. I look forward to hanging some curtains to bring in the burgundy and soft element from my inspiration kernel.

I’ve ordered some new closet door hardware that will open from the hinge edge of the closet so that I can put mirrors on the centre two panels of the bifold closet doors.

Empty shelves awaiting their fabric payload. Also, the bracket that I needed to secure the one end of the closet rod was not installed in this photo.
Moving In
For my furniture, I knew that one sewing desk was not enough space after I had acquired a coverhem machine to join my serger and sewing machines. So I knew that I would be looking at two desks for my machines. I want to get into projector sewing (to go mostly paperless), so a laptop desk would also be an important feature. And, as this room is bigger than the room I had previously, I also determined that I would be able to fit a cutting table inside. Whoo hoo! Two orders with Ikea were placed as they did not have all the items in stock at a single time. My sewing machine table is the 120cm long Lagkapten Alex desk. My serger and coverhem table is the 140 cm Lagkapten Alex desk. My laptop desk is the Micke desk. My cutting table is 160cm of glorious sit-stand Trotten goodness. I got a wide Alex drawer unit to sit under the cutting table to store cut pieces of fabric, and I chose a Raskog utility cart (in yellow to bring in the gold of my inspiration piece) to hold my iron and pressing supplies. I planned to include space for Kristie, my dressform, as well as my filing cabinet.

My sewing machine tables - one for my sewing machine and one for my serger and coverhem machine. Plenty of drawer space for storing sewing notions.

My laptop desk is in the corner. My filing cabinet was placed to its right after this photo was taken. Kristie, my dressform, proudly decorates the room. Cutting table, utility cart, and drawer units also visible.

My cutting table is glorious! I am so excited to start cutting projects out here and not have to compete for time/space on the kitchen table.
I am also tremendously proud of the closet. Installing so many brackets and getting them all to be level horizontally and vertically was quite a challenge (and included much swearing). I have space in here for my fabric (personal and business), my husband’s and my cosplays, my back-up sewing machine, my bra size testers, my paper patterns, and my knitting supplies.
I ordered acid-free cardstock and wrapped all* my fabric around it, following the True Bias tutorial (you can find it here) on fabric stash organization. Because my shelves are 15 to 16” deep, I wrapped most of my yardage around cardstock 10x14” in size. Some of the smaller bits that didn’t fit around that size as well as my bra-making elastics and laces were wrapped around 8.5x11” size. The fabric cube containers came straight out of my cube shelves, which will be repurposed into my kids’ bedrooms, and I look forward to finding new baskets that better match my new shelf depth (15” vs 11.5” in the cube shelf). My paper patterns are currently stored in a box I found in the garage, and I look forward to finding a better (read: more attractive and less space intensive) storage container for them too.
*except for my fabric that shouldn’t be folded. That fabric is rolled around long cardboard tubes and stored on the top shelf.

Shelves from bottom to top: (1) bra size testers and back-up machine. (2) woven fabrics. (3) Knit fabrics. (4) Bra-making fabrics and elastics. (5) scrap bins and closet rod for cosplays. (6) Knitting, paper patterns, and cosplays. (7) poly-fil, batting, and fabric rolls.
I look forward to putting the finishing touches over the next little while. As mentioned, hanging some soft, sheer, burgundy curtains, finding some suitable fantasy artwork for the walls, hanging mirrors on the closet doors, and mounting my sewing projector. My husband and I have plans to create a thread cupboard with the Doors to the Mines of Moria engraved on the front!
And of course, I am excited to start making many new projects in this space!!